
How to Transcribe Voice Memos from iPhone in 2026
Learn how to transcribe voice memos from iPhone using built-in tools and web apps. Step-by-step guide for older devices, multilingual audio, and exports.
You've got a Voice Memos file on your iPhone that matters, maybe an interview, a rough client call, or a half-baked idea you don't want to lose. The problem isn't recording it, the problem is turning that audio into text you can search, quote, edit, and send without scrubbing through the same waveform ten times.
The short version is simple. If your iPhone supports the built-in transcript, use it for fast cleanup. If the memo is on an older device, mixed-language, noisy, or just too important to trust to a flimsy first pass, export the audio and use a web workspace that turns it into a clean transcript you can work with.
Why Transcribing Voice Memos Matters More Than You Think
A Voice Memos file feels harmless until you need one exact sentence from it and can't remember where it lives. That's when audio stops being convenient and starts being a tax on your attention. A transcript fixes that by turning spoken words into something searchable, copyable, and easy to quote without replaying the whole file.
That matters in more places than people admit. Journalists use transcripts for pull quotes, founders use them for customer feedback, students use them for study notes, and teams use them for meeting records and compliance trails. Apple's own move to add built-in transcription to Voice Memos in iOS 18 shows the shift clearly, because the company is treating the recording itself as a starting point, not the final format, and its support docs say even iOS 17 or earlier recordings can be transcribed later if they contain speech. Apple's Voice Memos transcription guide
Practical rule: audio is a memory aid, text is a working document. If the memo matters later, transcribe it now while the context is still fresh.
The three paths worth caring about
The choice isn't whether to transcribe. It's how much friction you want.
First, use the built-in iPhone transcript when the memo is clear and your device supports it. Second, export the audio file and send it to another transcription tool. Third, use a web workspace when you want the transcript to become a file you can edit, translate, summarize, or hand off without bouncing between apps.
Using the Built-In iOS 18 Voice Memos Transcript
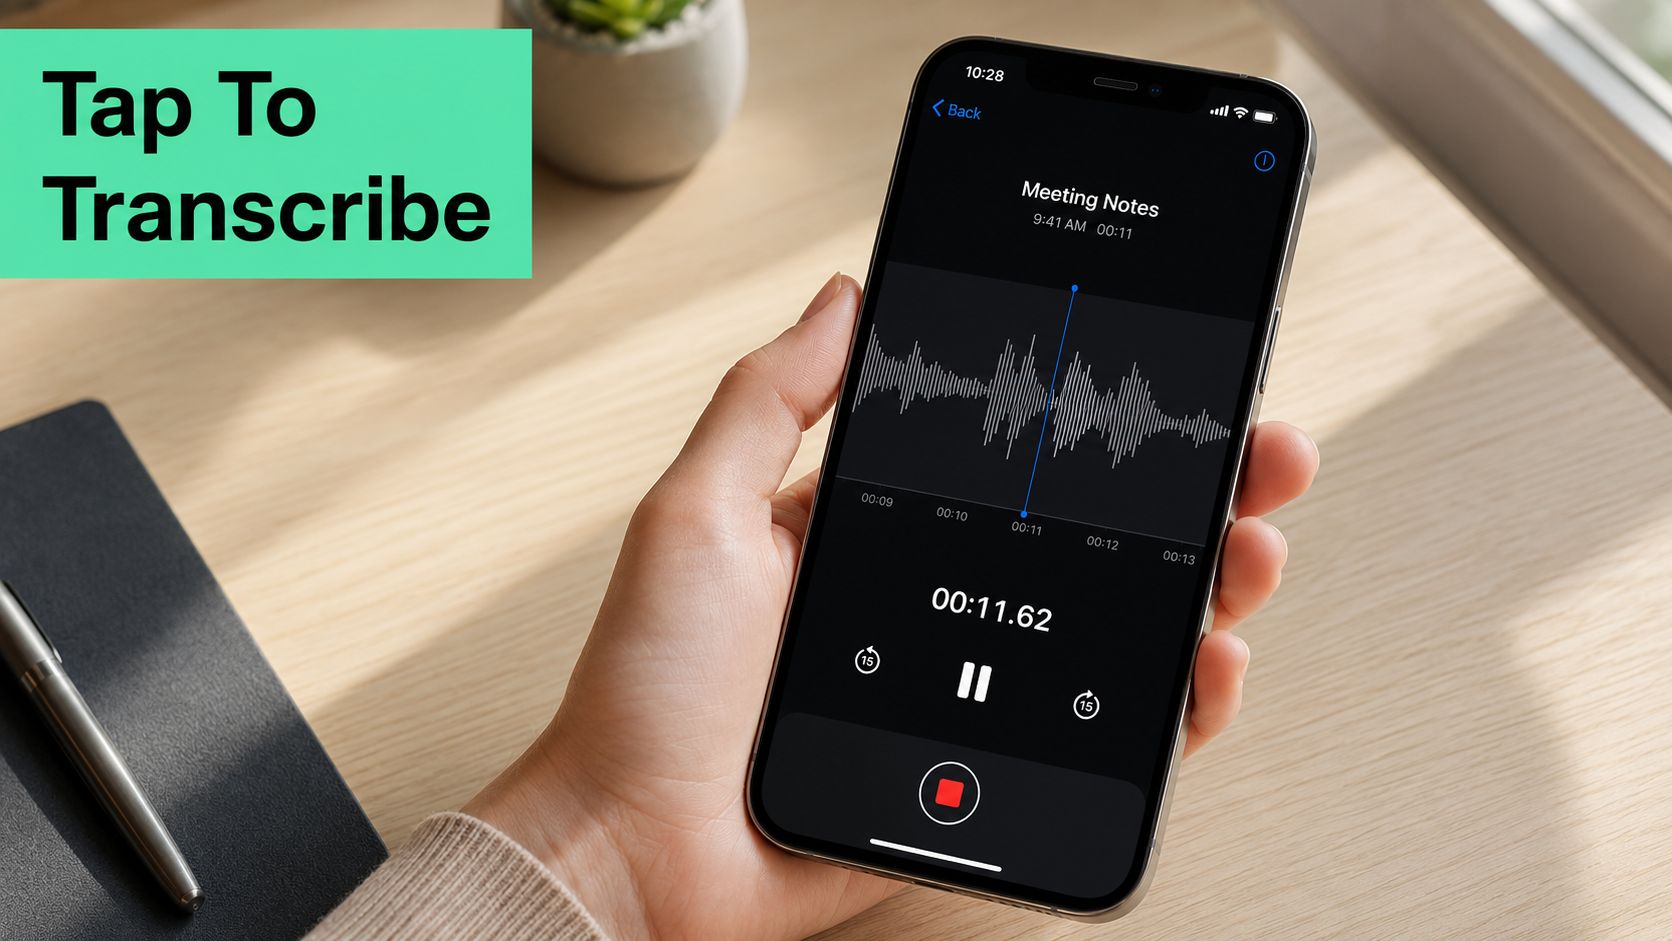
Open Voice Memos, tap the recording you want, then tap the waveform. On iOS 18 and later, the transcript option has moved into the More menu, so tap the three dots and choose Transcribe. Apple's support docs say the transcript can also appear for older recordings made in iOS 17 or earlier if they contain speech, and you can view or copy it right from the recording screen. Apple's Voice Memos transcript steps
Once the text appears, treat it like a live document, not a dead caption dump. You can tap and hold to copy a passage, use the share sheet to send it out as text or a document, or move it into Notes if you want it searchable alongside the rest of your writing. The useful part isn't just that it exists, it's that each line sits under the waveform so you can jump back to the exact moment with almost no hunting.
What the native transcript does well
It's fastest when the recording is clean. A single speaker, one primary language, and little background noise are where Apple's built-in path makes sense. That's the workflow I'd use for a quick reminder, a short interview snippet, or anything where you want a rough transcript now and can polish it later.
The catch is eligibility. Coverage of the current UI points to iPhone 12 and newer support for the built-in flow, and older devices can miss the option entirely. That's why so many people get stuck asking why the transcript button isn't there, when the actual answer is that the phone, the OS version, or the language support isn't lining up. Device-specific Voice Memos transcription coverage
Don't trust the native transcript as the final version for anything important. Use it as a fast first pass, then decide whether the result is good enough to keep.
The biggest reason I still like the built-in route is speed. You're already inside the phone, the memo stays local, and there's no upload step. But once the recording gets messy, the built-in path stops being a shortcut and starts being a compromise. For a longer or more complicated file, I'd move it into a workspace built for transcription instead. Transcript.im voice-to-text workflow
{% youtube id="4fk4M_63rug" /%}
Exporting Your Memo as an Audio File
If the transcript isn't showing up or the result feels thin, export the audio and stop fighting the phone. From the Voice Memos detail view, tap the share icon and you'll get the cleanest path out of the app. The memo usually leaves as an .m4a file, which is exactly what most transcription tools expect.
Mail is the simplest handoff if you want to send the file to yourself or a teammate. Files is better if you want to park it in iCloud Drive, On My iPhone, or another folder for later upload. AirDrop is the fastest route when you're near a Mac or another iOS device, and it's the one I'd use for batch transfers because it keeps the handoff local and quick. Apple's own documentation also supports transcribing older recordings later, which makes exporting especially useful when you're cleaning up a backlog rather than a single fresh memo. Apple's iPad transcription guide
Use the share sheet like a routing table
The share sheet isn't just for sending. It's your path into a better workflow.
- Mail: Attach the memo to an email draft when you want a quick self-send or a collaborator handoff.
- Files: Save the recording into a folder you already use for projects, archives, or uploads.
- AirDrop: Push the file to a nearby Apple device without waiting for cloud sync.
- Other share targets: Use whatever destination your installed apps expose, especially if you already organize audio in another service.
Naming the file before you export helps more than many realize. If you're handling multiple interviews, a clean filename keeps the transcript and the folder structure from turning into a mess later. That matters even more once you start moving audio into a workspace that keeps the text, title, and timestamps together.
If you want a lean fallback workflow, this is the one I'd use with transcribe audio file into text in mind. Export the memo, upload it once, and stop bouncing between phone apps that were never designed for serious transcription.
When a Web Workspace Beats Native Transcription
Native transcription is fine for quick capture. It falls apart when you need the memo to become something durable, especially if the audio is longer, less clean, or mixed across languages. A web workspace like transcript.im is the better move when you want the file to come back as something you can search, edit, translate, and export without rebuilding the workflow every time.
The basic flow is straightforward. Export the .m4a from Voice Memos, upload it through the share sheet or the web uploader, choose the language if you know it, or let the tool detect it, then get a timestamped transcript back. That is where the web route wins, because the transcript doesn't sit trapped on the phone, it becomes text you can keep using. If you care about a practical comparison of voice-to-text paths, the guide for voice-to-text workflows is worth skimming because it makes the tradeoffs between capture, editing, and output format obvious.
The cases where I'd skip the phone entirely
Older iPhones are the obvious one. If the device or OS version is out of range, don't waste time poking through settings that won't fix the problem. Mixed-language memos are another. Apple's support is still rolling out unevenly by language, and recent coverage notes that Traditional Chinese landed in an iOS 18.4 update, which tells you the feature still isn't universally uniform across languages. Coverage of multilingual Voice Memos transcription
A web workspace also makes sense when you need export flexibility. Text, captions, and structured transcript formats are more useful than a copy-paste blob, especially if you're repurposing interviews into subtitles, summaries, or publishable drafts. If you're transcribing a batch of recordings, that becomes even more obvious. A pile of files goes faster in one workspace than through a series of manual taps on the phone.
If you need translation, timestamp-preserving exports, or clean text from older hardware, stop trying to force the native path to do a job it wasn't built to finish.
For people who want a no-nonsense fallback, free audio transcription is the right category to look at, because the win is getting the memo into a browser workspace once and handling the rest from there. The same logic applies to longer memos, interviews with crosstalk, and recordings you need to reuse in more than one format.
Mobile Apps and Desktop Software Worth Considering
Not every memo belongs in Apple's built-in flow, and not every file needs the same tool. I'd pick based on the job, not loyalty to a platform. The cleanest way to think about it is live capture, accuracy, and editing flexibility.
Tool comparison
| Tool | Platform | Best For | Free Limit | Notable Limitation |
|---|---|---|---|---|
| Otter | Mobile and web | Live meetings and speaker separation | Limited monthly minutes | Non-English accents can be rough |
| Rev | Mobile and web | Accuracy-critical transcription | Limited trial use | Costs rise quickly on long work |
| Descript | Desktop | Editing audio like a script | Free tier available | Overkill for short memos |
| MacWhisper | Desktop | Offline privacy on Mac | Free and paid versions | Desktop-first, not instant on phone |
| NCH Express Scribe | Desktop | Manual transcriptionists who type fast | Software-based workflow | Requires more hands-on work |
Otter is the one I'd trust first for live meetings because it's built for that moment, not just for cleanup afterward. Rev is the safer choice when accuracy matters more than speed and you're willing to pay for a more controlled result. Descript is a different beast entirely, since it treats the transcript like an edit layer for audio and video, which is fantastic for podcasters and clumsy for quick memos.
For people who want offline privacy, MacWhisper is the cleaner desktop move because it keeps the work on the Mac. For fast typists who already know manual transcription, NCH Express Scribe still has a place. If you want a browser-based workspace that also handles uploads and text workflows in one place, iPhone voice memo app 2026 is the kind of comparison people usually search for before they settle on a stack.
My rule is simple, Otter for live capture, Rev for accuracy-sensitive jobs, Descript or MacWhisper for batch and editing-heavy work.
If your memo is just one file and you need the transcript right away, the iPhone can be enough. If you're dealing with recurring interviews, mixed sources, or files you'll revise later, the desktop path is easier to live with. For a browser workflow that keeps the transcript and the file moving together, speech to text is the category I'd put at the center of the process.
Turning a Transcript into Subtitles, Summaries, and Translations
Once the words are on the page, don't stop there. A transcript is just the raw material, and the value shows up when you reshape it into something reusable. I like this workflow inside one workspace because it cuts out the copy-paste shuffle between transcription, subtitle tools, and a separate writing app.
Subtitles first, because timing matters
Import the transcript and export it as SRT or VTT when you need captions. That format keeps timestamps attached to the text, which matters when you drop it into editors like Premiere, DaVinci Resolve, CapCut, or iMovie. A short interview can go from a loose block of text to a caption file with line breaks and timing preserved, which is exactly what you want when the transcript is headed for video.
The useful part is that the transcript and subtitle timing stay aligned. If you change the text in one place and the timing in another, you create drift. Keeping it all in one workspace avoids that mess.
Summaries and translations belong in the same file tree
Summaries are where the transcript pays you back. Turn the text into a 3-bullet TLDR, a short abstract, or a pull-out quote list for a newsletter draft or blog recap. That's faster than rewriting from scratch because the source language is already there, ready to compress.
Translation works the same way. Re-run the transcript into the target language, then export a bilingual script for review so the original and translated versions stay paired. That matters for subtitles, internal documentation, and repurposing audio for another market. The ImagineVid AI translation for e-commerce resource is a decent example of how translation becomes more useful when timing and formatting stay intact.
| Output | Why it helps |
|---|---|
| SRT | Ready for subtitles in video editors |
| VTT | Useful for web captions and player support |
| Summary | Turns long audio into a skim-friendly brief |
| Bilingual script | Keeps translation review tied to the source |
If you've ever re-edited a transcript after the subtitle file was already finished, you know why one workspace matters. Interview transcript layout is the kind of structure that saves time because the text, timestamps, and reusable outputs stay connected instead of drifting apart.
Troubleshooting and Quick Wins Before You Start
The fastest fix is usually the least exciting one. Check that you're on iOS 18 or later, because the built-in transcript flow depends on the supported system version and compatible hardware. Then make sure the Voice Memos language matches the spoken audio under Settings > Apps > Voice Memos > Language, because mismatched language settings are a common reason the transcript doesn't appear or comes back messy.
If the transcript icon stays gray, don't keep tapping it and hoping. Re-record in a quieter place, switch to a single supported language, and force-restart Voice Memos if the app looks stuck. If a transcript disappears after syncing, turn off iCloud optimization for Voice Memos so the audio and text don't get separated in a way that confuses your workflow. And if Mail refuses to send the export, use Files or AirDrop instead, because those paths are usually more reliable for audio handoff.
Pre-recording checklist
- Confirm microphone access: Voice Memos can't help if the app never got permission.
- Use airplane mode for interviews: Fewer interruptions means fewer bad captures.
- Label the memo immediately: A clear name keeps the transcript searchable later.
- Keep the audio clean: Background noise still ruins more transcripts than most settings ever will.
The big mistake is assuming the phone will solve every recording problem after the fact. It won't. If the memo is important, set it up right before you hit record, and move it into a better transcription workflow as soon as the native path starts getting in the way.
If you want a cleaner way to turn iPhone Voice Memos into searchable text, subtitles, and usable drafts, try transcript.im. It handles uploaded audio files in a browser workflow, so you can move past the native transcript when the phone isn't enough. Use it when you want the memo to become something you can edit, translate, and ship instead of just replay.
Transcript Generator
Turn Any Video Into Text
Paste a YouTube, TikTok, or Instagram link and read the transcript, with timestamps on every line.
Exports as TXT, SRT, or VTT.